Timed drawing is one of the best ways to get better at gesture and figure drawing: a new reference every 30 seconds, 1 minute, or 5 minutes, and no time to fuss over details. All you need is a pile of reference photos and something that shows them one by one on a timer - with a countdown you can actually read while you draw. This guide shows you how to turn Slideshower into a gesture drawing app for Mac that plays your own reference folders.
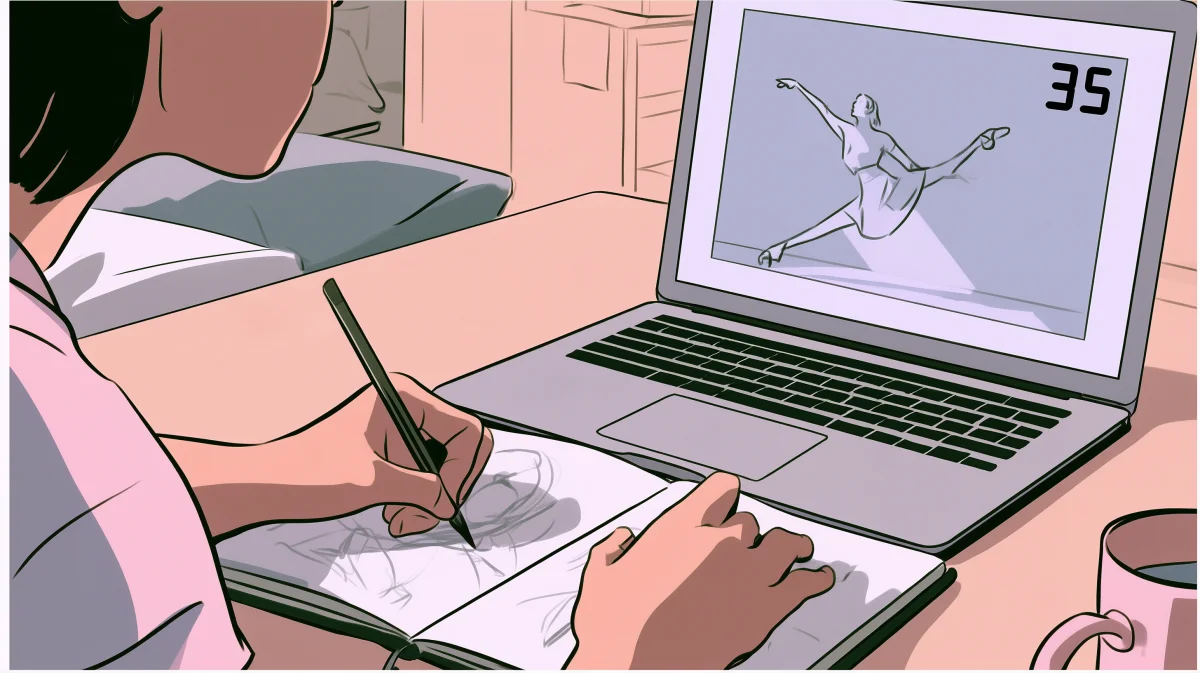
Why a timer matters for drawing practice
Short, timed poses force you to look for the big shapes first - the line of action, the tilt of the shoulders and hips, the weight. When you know the pose disappears in 60 seconds, you stop polishing a hand and start capturing the whole figure.
A typical session looks something like this:
- Warm-up - 10-20 poses at 30 seconds each
- Gesture - 10 poses at 1-2 minutes
- Longer studies - a few poses at 5-10 minutes
The trouble is the tools. Websites with random poses only show their photos, and you’re one browser tab away from distraction. Apple’s Photos app can play a slideshow, but it has no countdown, so you never know when the next image is coming. And if a timer is there, it’s often a tiny number in the corner that you can’t read when your eyes are on the paper.
That last one is exactly what a Slideshower user - an artist practicing timed sketching - wrote to me about: the countdown numbers were too small to check at a glance during a session. Version 4.14 fixes that.
What you need
- A Mac
- Slideshower 4.14 or newer (free for up to 150 photos)
- A folder of reference photos - your own photos, a pose pack you bought, photos from a model session, museum sculptures, animals, hands… anything you want to draw
How to set up timed drawing practice on Mac
Step 1: Add your reference photos
Open Slideshower and drag your reference folder into the window, or click “Select files or folders”. You can add several folders at once - for example Standing poses, Seated poses, and Hands. If a folder has subfolders, Slideshower asks whether to include them. More details are in the guide on playing a slideshow from a folder on Mac.
Step 2: Set the time per pose
In the main window, set Delay (in sec) to the length of one pose - 30 for quick gestures, 60 or 120 for gesture drawing, 300 for a 5-minute study. You can type any number from 1 second up to 9999 seconds (that’s almost 3 hours).
Step 3: Turn on Shuffle mode
Switch on Shuffle mode so the poses come in random order. That way you don’t memorize the sequence, and you get a good mix of poses from all your folders. Turn on Loop slideshow too if you don’t want the session to end when the folder runs out. Here’s more about shuffling photos in a slideshow on Mac.
Step 4: Make the countdown timer big
Click Advanced Options and open the Playback tab. In the Countdown timer section:
- Turn on Show timer at start - the timer appears as soon as the slideshow begins, so you don’t have to press T every time
- Drag the Timer size slider to make the numbers bigger - anywhere from 8 pt up to 200 pt (the old timer was fixed at 24 pt)
The timer sits in the top-right corner of the screen on a dark, semi-transparent background, so it stays readable over bright and dark photos. If your Mac is on the other side of the desk, try something like 72-120 pt. If you draw right next to the screen, a smaller size keeps more of the pose visible.
Step 5: Get a heads-up before the next pose (optional)
In the same section, turn on Change color before the next slide, then choose:
- During the last - how many seconds before the end the timer changes color (10 seconds by default)
- Color - red by default, but you can pick any color
Now you can see the end coming out of the corner of your eye: when the numbers turn red, it’s time to finish the big shapes and get ready for the next pose. For 30-second poses, a 5-second warning works well. For 5-minute studies, try 30 seconds.
One rule: the warning has to be shorter than the time per pose. If it isn’t, Slideshower shows a small note and the color won’t change.
Step 6: Start drawing
Click Start and press F for full screen if you like. During the session:
| Key | What it does |
|---|---|
| Space | Pause or resume - the timer freezes too, so you can take a break |
| → | Skip to the next pose (when a pose doesn’t inspire you) |
| ← | Go back to the previous pose |
| T | Show or hide the timer |
| Esc | End the session |
Step 7: Save your routine as a slideshow file
Use File → Save Slideshow (⌘S) to save everything into a .slideshow file - your reference folders, the time per pose, shuffle, and all your timer settings (size, show at start, warning color, and seconds). Next time, double-click the file and your session is ready to go.
Tip: one file for each type of session
Slideshower uses one delay for the whole slideshow, so the easiest way to build a full practice routine is to save a few slideshow files:
Warm-up 30s.slideshow- quick poses, 5-second red warningGesture 2min.slideshow- 2-minute poses, 15-second warningStudy 10min.slideshow- longer poses, a smaller timer so it doesn’t distract
Run them one after another, and you have a complete session in a few clicks.
More tips for timed drawing sessions
- Use your second screen or TV. You can play the slideshow on an external display and draw in front of it. The main window shortcuts (⌘P to pause, ⌘→ for the next pose) work even while the slideshow is on the other screen. See playing a slideshow on your TV via AirPlay.
- Mix your sources. Add a folder of figure photos and a folder of animals or hands, then shuffle - you never know what’s next, which is great for practice.
- Don’t skip too often. Hard poses teach you the most. Use → only for photos that are really unusable.
- Keep your references organized by type. Separate folders (poses, portraits, hands, animals) make it easy to build focused sessions.
- Take breaks. Press Space to pause after a set, stretch, and look at what you’ve drawn.
Things to know
- The timer is shown in single-photo view. It’s not shown in the side-by-side or grid views, in manual mode (where only the arrow keys change the photo), in screen saver mode, or while a video plays to its end.
- Use your own references. Slideshower doesn’t come with pose photos - it plays the ones you have on your Mac, which means you’re free to use any reference pack you like.
FAQ
Can I use Slideshower as a gesture drawing timer? Yes. Set the delay to your pose length (for example 30 or 60 seconds), turn on Shuffle mode, and turn on the countdown timer in Advanced Options → Playback. Each photo stays on screen for exactly that long, with a countdown in the corner.
How big can the countdown timer be? From 8 pt up to 200 pt. At 200 pt the numbers are easy to read from across the room.
Can the timer warn me before the next image? Yes. Turn on “Change color before the next slide” and choose how many seconds before the end the timer changes color, and which color it uses.
Does pausing stop the timer? Yes. Press Space to pause - the image stays on screen and the timer freezes until you resume.
Can I set different times for different poses in one session? Not in one slideshow at the moment - every photo uses the same delay. Save a separate slideshow file for each pose length instead (see the tip above). If you’d like class-mode style sessions with mixed times, let me know - it helps me decide what to build next.
Is Slideshower free? You can use it for free with up to 150 photos - enough for many practice sessions. For unlimited photos, a one-time license is $19, with no subscription.
Get started
Download Slideshower, drop in a folder of references, set 60 seconds per pose, and make the timer big enough to read from your sketchbook. Already have Slideshower? Update to 4.14 with the Check for updates button in the bottom right corner of the app.
The bigger timer started with one email from an artist who couldn’t see the numbers while sketching - so thank you! If you use Slideshower for drawing practice and have ideas for making it better, write to me at hello@slideshower.com.
Happy sketching, Pawel